How to paint a brass fireplace screen (without removing it!)
So it's actually funny that it's taken me this long to encounter this project and see it through!
I wish I had done this right when we moved in!! But, of course I had other things going on then. Now that it's done I feel so much happier with our historic fireplace!
We had one of these at our last house, too, and instead of painting it, removed the screen entirely. That worked well because it was up a step and we didn't have a baby who will soon be crawling and getting into things. I might still remove the glass/metal/doors on ours one day, because I do like the look of an open one, but for now... this was a great fix and we still have the option of babyproofing.
We did look at removing this one before painting, and it was pretty easy to do at the top (they are bolted on inside), but it was very securely mounted at the bottom. I really didn't want to get stuck with not being able to put it back in. It would have been great to avoid the spray paint fumes inside, but we managed by doing it on a nice day and using big box fans to get the air out.
So this tutorial is now to paint your fireplace screen without removing it--indoors!
How to paint a brass fireplace screen
You will need:
- Good quality masking tape
- Cheap tape of any kind (I used cheap blue tape, I know it's not usually cheap but this one is lower quality)
- Painter's plastic, big roll of brown paper, or plastic garbage bags
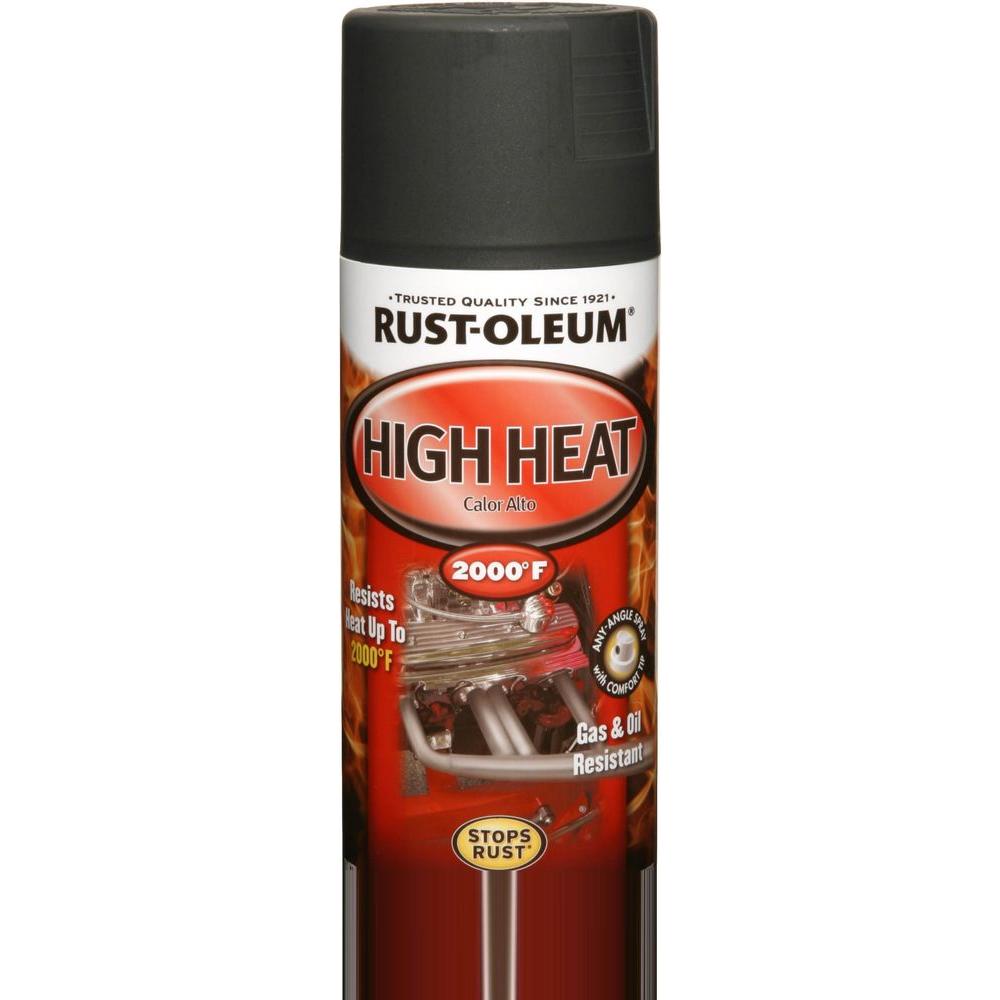
- High-heat spray paint (I used this one which is a flat sheen. There's also this satin one.)
- Your 1970's brass fireplace screen, of course! 80's or 90's works well, too. ;)
- 2 electric fans (we used box fans)
Instructions:
1. Clean and prepare the brass. For me this involved removing rust that had some in at the top. I used vinegar-soaked rags and cotton balls and created a frame for them with packing tape. Once dry, I sanded off the remaining rust to get a smooth texture.
If your fireplace isn't rusty, just clean it lightly with a water/dish soap solution or mineral spirits.
2. Thoroughly tape around the screen, wrapping around the brick. Insert each piece of tape into the tiny gaps first, then bend it upwards or sideways and stick it down.
I found I needed to do this extra step with a super-sticky tape to get it to stay in plasce on the textured brick.
3. Cut plastic or brown paper to the approximate width of the fireplace/area you're protecting. Using any ol' tape (I used this knock-off blue painter's tape), tape it to the first layer of tape.
You can see up close there's a sandwich of ivory tape, plastic, blue tape.
Also cut pieces of plastic slightly smaller than the glass doors and tape them down.
We did not do this step on the insides of the doors, but did paint the tops and sides. So if you crawled inside the fireplace you would see some brass... but when you open the doors, you don't! You'll see more in the painting step below...
4. Open windows and doors and set up fans blowing air away from the area. We put a box fan on either side to suck the smell out. Close off any hallways, bedrooms, etc. to contain the smell as much as possible.
5. Spray! Do multiple very light coats to avoid drips. Spray a light dusting starting at one corner and working to the opposite; let dry a few minutes, then go again until fully coated. Be careful around the handles not to coat it too thick, to avoid drips.
I used this paint which is a flat sheen and can be heated up to 2000 degrees. Probably overkill but why not.
6. Open fireplace doors slightly and spray tops and sides with the same light spray method.
Here is a screen shot of an Instagram story I did before this step.
Sorry for the lack of nicer photos--was rushing to get this done between naptime and feeding a baby! (My friend did the spray painting while we hid in a non-painty room in the house, don't worry.)
That's it! We gave the glass a good cleaning with glass cleaner on both the insides and outsides cause that hadn't been done very well in a while.
SUCH a difference and now I am excited to decorate our mantel for fall and the holidays!
Someday we may change the brick and tile, but I think it is original and we are keeping the original wood trim and respecting a lot of features of this house by restoring them/keeping them as-is. So while brick and terra cotta are not my first choice, I'm sticking with it for now.
Remember the "before"... (Full before tour of this house here.)
Makes the whole room feel nicer!


No comments
Post a Comment